Showing posts with label Lessons. Show all posts

Lesson: Change Colors Seamlessly (Crochet)

Changing colored yarns while making a hat or scarf, for example, can make for a really dynamic piece. But how do you change colors flawlessly while crocheting? You would think it's as simple as finishing one stitch entirely in one color then starting the next stitch with a new color, but it's not. In fact, you need to switch colors before finishing off your stitch.

See the photo tutorial below:

For the purposes of this demonstration, let's assume your main color (MC) is white and your contrast color (CC) is green. You are working a bunch of double crochets (DC) along in your MC, but you want to change over to the CC in your next stitch.

Start the DC as normal with the MC. Yo and pull a loop through in MC:
Yo and pull over two loops in MC:
Now change over to the CC. Yo in CC:
Pull over two loops:
Continue working DCs in the CC. 

How to: Intarsia

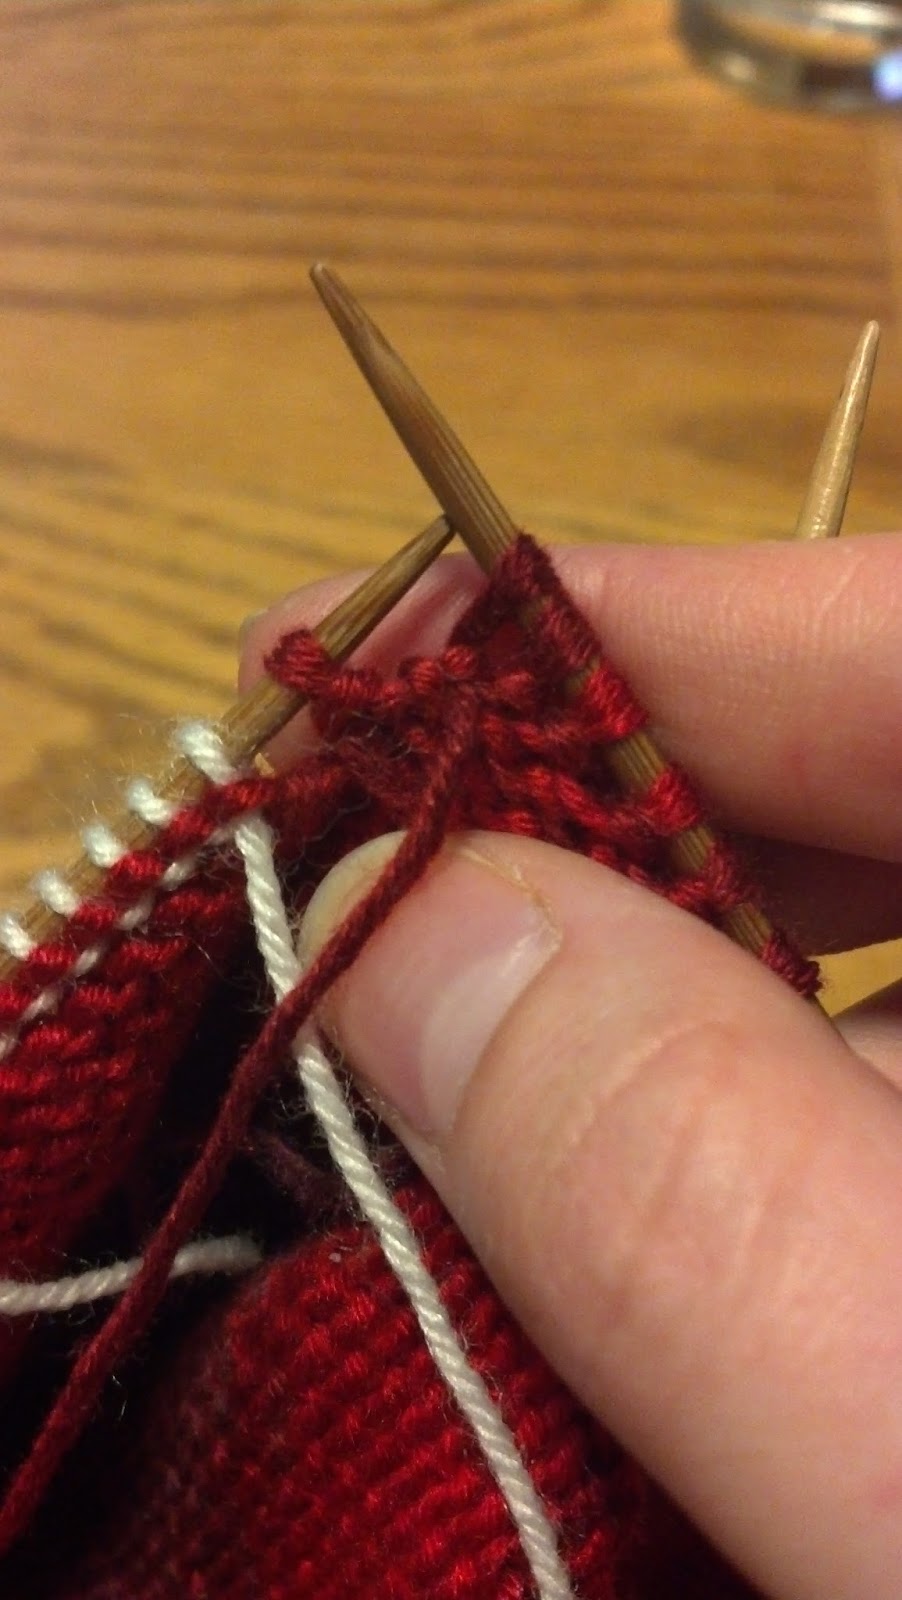
Ever wonder how to make argyle sweaters or use patterns that switch yarn colors? Changing colors is easy and it's just a matter of dropping one color string and picking up a new color. Most patterns with multiple colors come with a handy dandy knitting chart to visually show the colors changes. The tricky part is avoiding holes in your work as you change colors. Here is an example of what you don't want:
See the large gaping hole between the red and white stitches? That's exactly what you don't want. But never fear, intarsia is here to help! Intarsia is a way of changing colors in a knitting pattern by interlocking the colors with each other. Some knitting patterns don't explain the interlocking process and will say something like "twist the yarn." Not too helpful.

Below are instructions on how to "twist the yarn" and avoid those holes while changing colors.

If you're purling across, you want to change from the red color you were just working to the new white color:
Place the old color (red) on top of the new color (white), moving the new color (white) to the right:
This allows you to grab the old color (red) in the stitch you make with the new color (white). Pull the new color (white) back over the older color (red) and purl your next stitch with the new color (white):
See how the old color (red) is caught in with the new color (white) stitch? This makes the color changing stitches interlock together and avoids those pesky holes.

If you're knitting a row, you want to change from the red color you were just working with to the new white color:
Again, place the old color (red) on top of the new color (white), moving the new color (white) to the right:
Move the new color (white) up and make your next knit stitch. See how the old color (red) is caught in the stitch with the new color (white):
Think of this as looping the new color around the old color yarn before you make your stitch with the new color. Remember, your goal is to interlock the two different colored stitches together so grab the old yarn with the new yarn before you make a stitch with the new color.

Lesson: Front Post Double Treble Crochet (FPdtr)


Instructions:

Yarn over hook three (3) times
Insert hook into post of next stitch in the previous row 
Yarn over
Draw yarn through the post (five loops on hook)
Yarn over (six loops on hook)
Draw through two loops on hook (four loops on hook)
Yarn over (five loops on hook)
Draw through two loops on hook (three loops on hook)
Yarn over (four loops on hook)

Draw through two loops on hook (two loops on hook)
Yarn over (three loops on hook)
Draw through two loops on hook (one loop on hook)
That's all there is to it!

Here is a row of 1 FPdtr, 1 dc


Use your new skill and make this plastic bag holder!

Lesson: Kitchener Stitch (Knit)

Learn how to do the kitchener stitch, or graft two ends together, to seamlessly attach two ends of a piece together.

Materials:
Two needles with live stitches to graft together
One sewing needle

Instructions:

Thead the sewing needle through the working yarn. Make sure that your needles have the same number of stitches.


Hold the two needles parallel and the needles pointing in the same direction, with the working yarn on the back needle. The right side (RS) of the work should be facing outwards (towards you).


The first two stitches are unique, then the rest follows a repetitive pattern.


Insert the needle into the first stitch on the front needle as if to purl. Leave that stitch on the needle.

Insert the needle into the first stitch on the back needle as if to knit. Leave that stitch on the needle.

Now that you have your first two stitches set up, the repetitive pattern begins.

*Insert the needle into the first stitch on the front needle as if to knit. Slip that stitch off the needle.
Insert the needle into the (new) first stitch on the front needle as if to purl. Leave that stitch on the needle.
Insert the needle into the first stitch on the back needle as if to purl. Slip that stitch off the needle.
Insert the needle into the (new) first stitch on the back needle as if to knit. Leave that stitch on the needle.*

Repeat from * to * until you have worked all of the stitches.


Congratulations, you have seamlessly attached two ends of your piece together!


Lesson: Provisional Cast On (Knit)

This method of casting on allows you to work live stitches from both ends of a piece. Use a scrap of waste yarn to hold live stitches while you knit in the opposite direction, allowing you to pick up these live stitches to work with later.

Uses:
  • Attaching the ends of a piece together without an unsightly seam
  • Hemming or edging
  • Working a piece when you are unsure how far your yarn will go
Materials:
  • One needle at least two (2) sizes larger than the needle size your project calls for OR two needles held together that are the same size that your project requires.
  • Scrap of waste yarn, longer than the length of the stitches you want to cast on.
  • Working yarn
Instructions:

Make a slip knot. Leave a small tail. Work the yarn from the skein.
Hold the end of the scrap yarn in the same hand as the needles. (Leftie for me!)
*Move the working yarn in front of the waste yarn. 
Move the working yarn under the waste yarn.
Move the working yarn in front of and over the needle.*
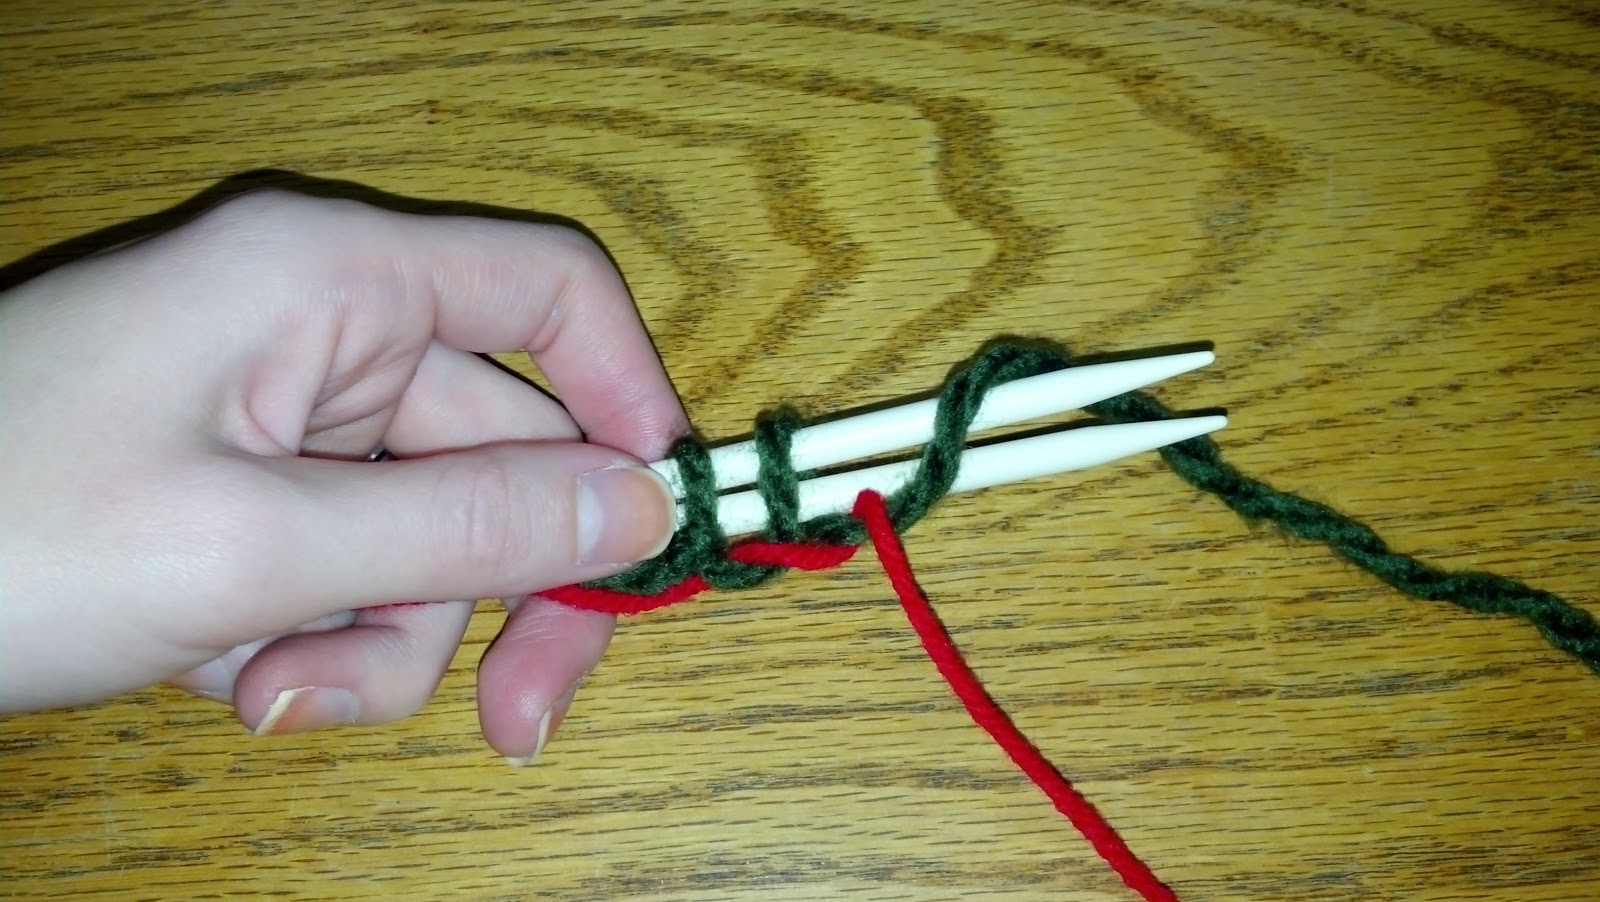
Repeat from * to * until you have the required number of loops of working yarn on the needle. Here's what it looks like a few stitches in:

Move the working yarn in front of the waste yarn. 
Move the working yarn under the waste yarn.
Move the working yarn in front of and over the needle.
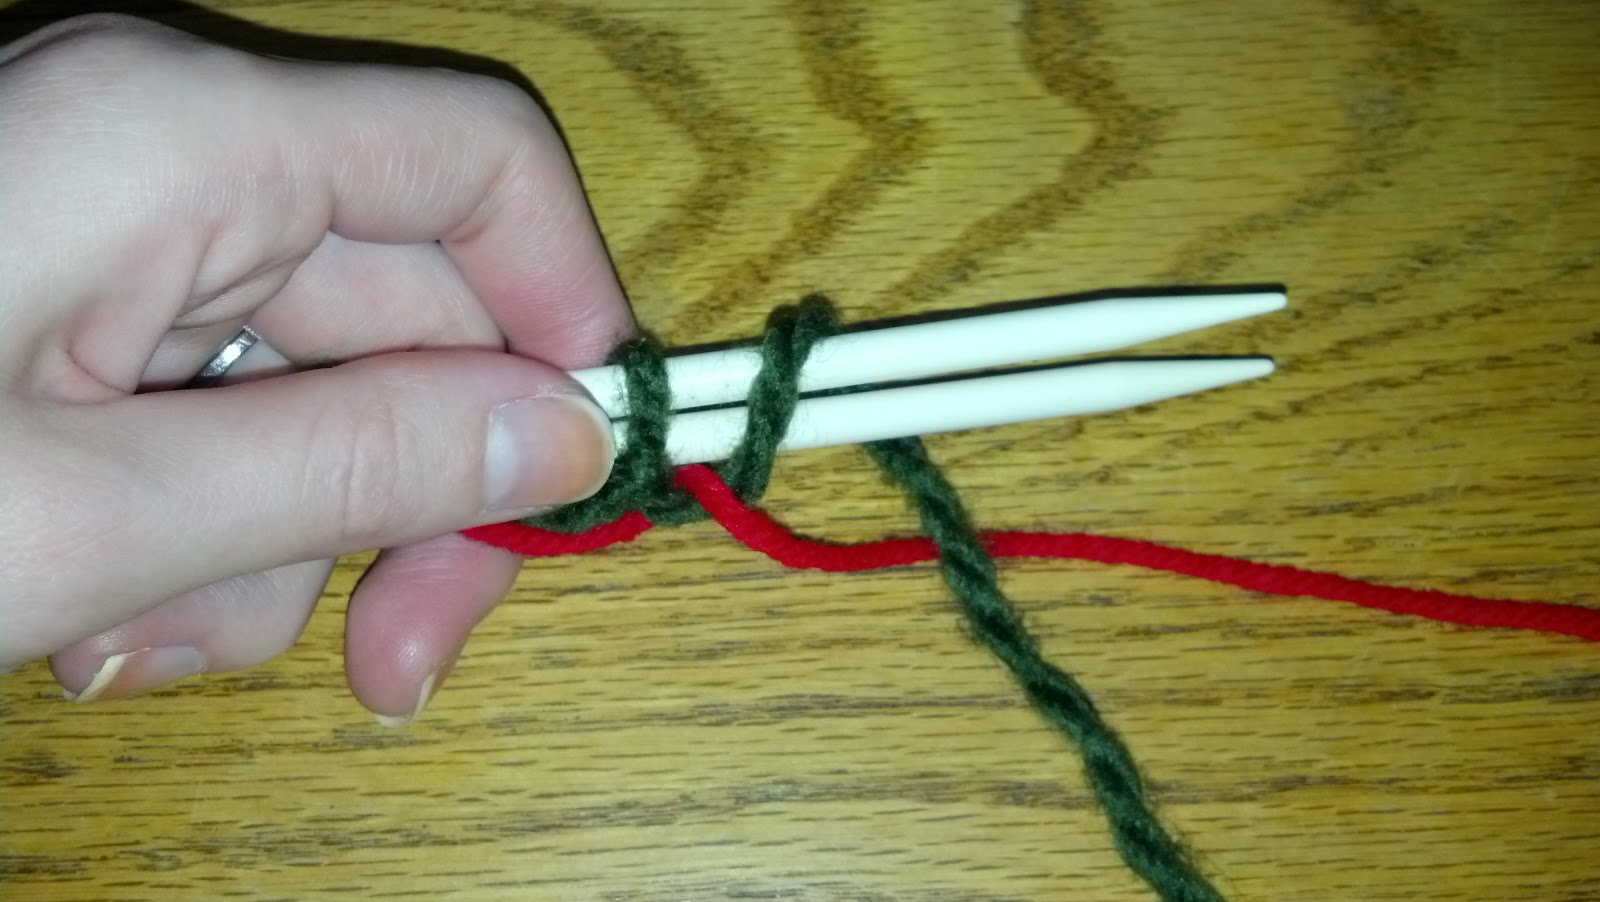
You should have an equal number of stitches around the waste yarn as you have on the needle.


End by moving the working yarn in front of and under the waste yarn.
Your work should look like this after removing the needles, leaving only the waste yarn, and working a few rows
When you want to use the live stitches on the waste yarn, just pick them up on a new needle and remove the waste yarn. Make sure you pick up the same amount of stitches you cast on.

Tips:

  • Keep waste yarn taught as you work the first few rows so the live stitches, on the ends especially, don't unravel.
  • It's OK if your live stitches on the waste yarn are loose while on the waste yarn. This should go away when you pick them up and work with them.

Lesson: Puff Stitch (Crochet)


The puff stitch is one of my favorite stitches that gives the yarn a subtle puff in the piece. I've used it to make the lettuce on this hamburger dress and some amazing scarves.

Step One: Yarn over hook once, wrapping over the hook from back to front

Step Two: Insert hook into next stitch, yarn over and pull through a loop. (3 loops on hook).


Step Three: Yarn over. (4 loops on hook).


Step Four: Insert hook into the same stitch, yarn over and pull through a loop. (5 loops on hook).


Step Five: Yarn over. (6 loops on hook).


Step Six: Insert hook into the same stitch, yarn over and pull through a loop. (7 loops on hook).
Step Seven: Yarn over and draw the yarn through all 7 loops on hook.


Step 8: Chain 1 to secure the puff stitch.

The puff stitch is in the middle, in between double crochets, giving the piece a slightly puffed look.


Now you know the puff stitch! Why not try some fun patterns - like this hat, or this scarf, or this pillow, or (my favorite) this cowl.